The following is the Tech section of the December 2002 American Iron Magazine, an article written by Buzz Kanter. The layout has been optimized for internet browsers. Enjoy!
PROJECT DARK STAR
PART II Screamin' Eagle bolt-on power
Okay, so we’re now into my latest project bike. Now that we’ve added good stopping power by upgrading the worn brakes with floating rotors and new pads (AIM Nov. 2002), I figure it’s time to unleash a few of the horses hidden in our stock FXDX. Between articles and issues, I’ve also made a few small changes, such as removing the stock mirrors and installing a bar end mirror to clean up the bars and give better visibility. I’ve also been fiddling with the stock suspension, which is the most impressive I’ve experienced yet on a stock Harley.
So now it’s time to see how many unused ponies are asleep in the stock powertrain, with some fairly simple bolt-on Screamin’ Eagle (SE) goodies from Harley-Davidson. Our plan was to squeeze the best possible performance out of the stock bike on the dyno with a few basic bolt-on Screamin’ Eagle products. We want to show what is involved for installation, and also qualify and quantify what someone can expect on our particular stock Harley and how far your dollar will go in the search for power. Our goal is to measure and share our findings, which should be viewed more on the theory than the absolute numbers. I expect similar results would be obtained using comparable products on other stock Harley powertrains.
Please note that while our findings are accurate and real, you should not consider the data as an absolute. Every bike is different, and the same combination of components will produce similar but not exactly identical results on different machines. In other words, don’t get worked up if you get a few horsepower more or less than we do on your similar bike.
To get the job done, I made plans to meet up with Dr. Dyno at Customs By Steve, in Norwich, Connecticut, which is about two hours north of our offices. He agreed to bring his portable operation table (dyno and workshop trailer), and I’d ride up on the project bike with the parts, an open mind, and a camera. Read on to learn what we found.
 |
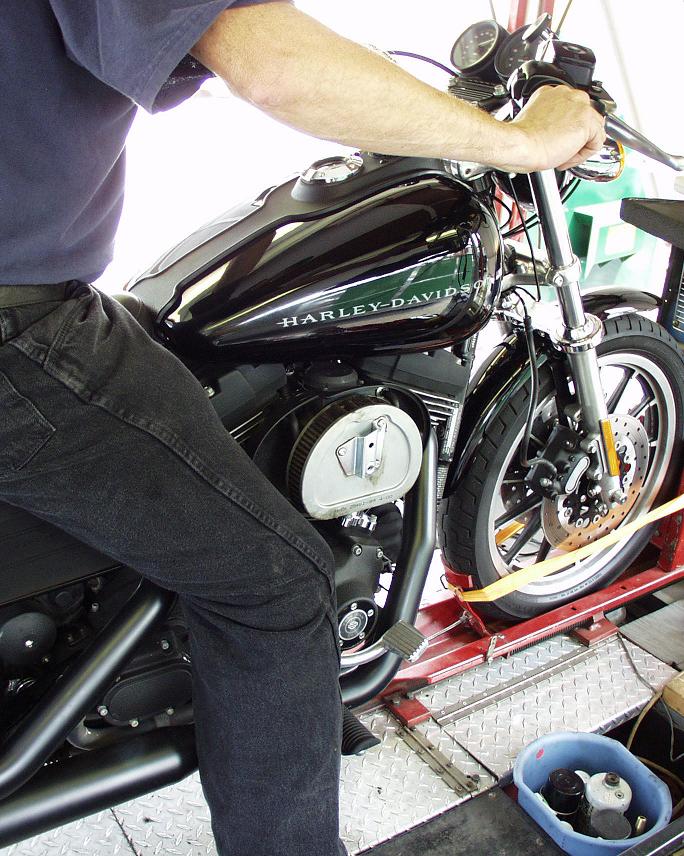
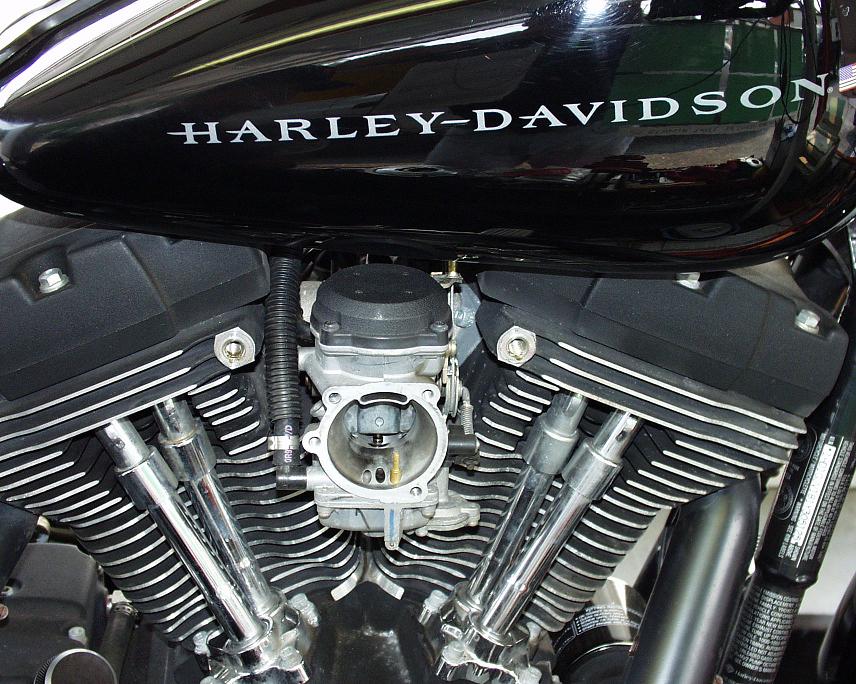
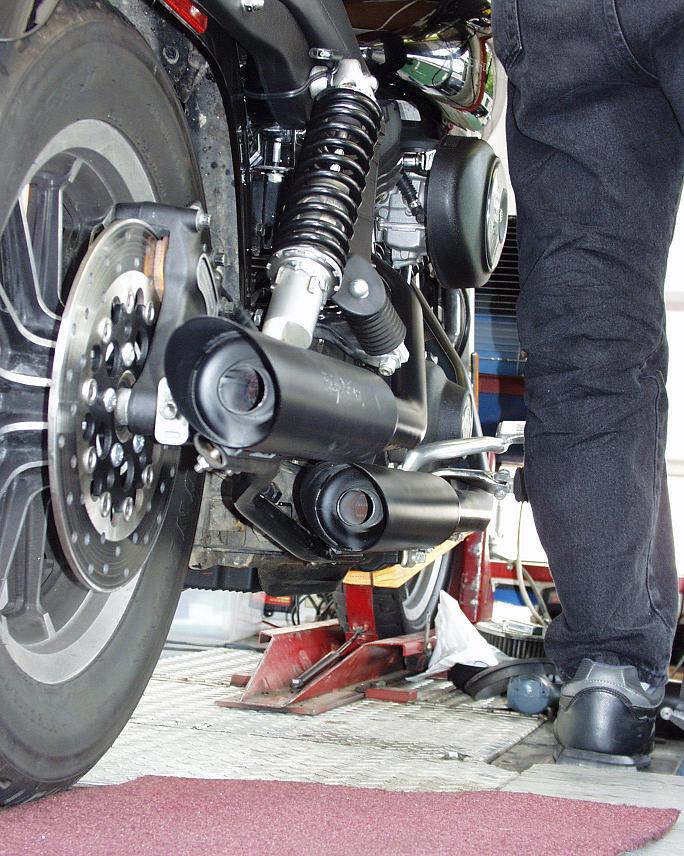
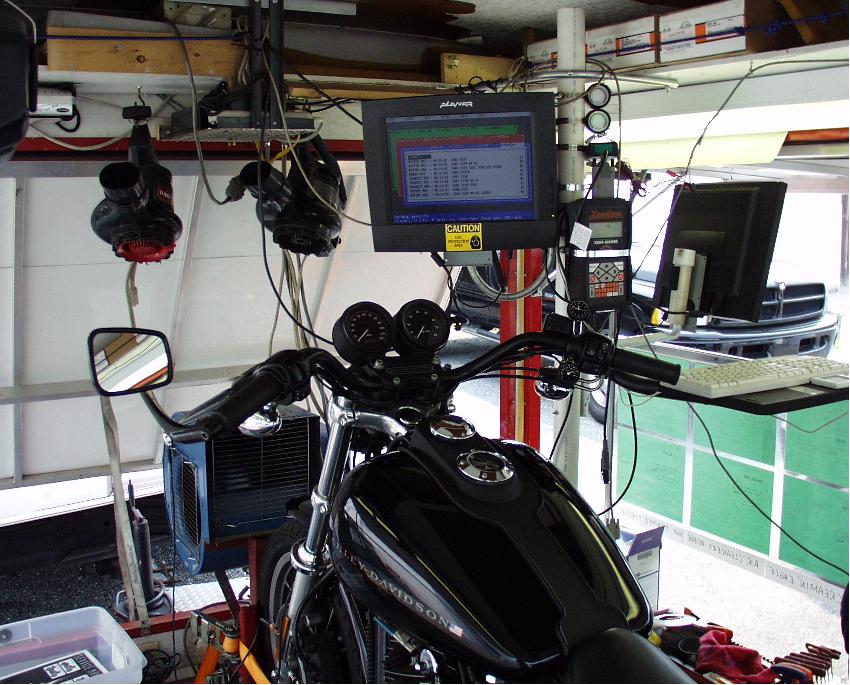 Here's our test bike, up on the dyno and ready to go. We first did a baseline run to see what the stock engine put out. |
Baseline Run
The baseline run measures what the stock configuration produces in rear wheel horsepower and torque. While this is a lot more complicated than most readers care to know, we will be quoting peak numbers and making comments, where needed, about results along the powerband, but mostly in the mid-range where most street riding is done.
The bike ran fairly strong and clean. Once sufficiently warmed up, it produced 60.5 peak horsepower and 78.1 ft-lbs. of torque. Although not exciting, it was quite respectable for a bone stock Twin Cam.
 |
 Just out of curiosity, we also did a run with the air cleaner cover off and the air filter element still in place. We registered a slight increase in both horsepower and torque. |
Data Run 2
For the first performance run, which is our second data run, we removed the stock air cleaner outer cover, but left the stock filter in place. We registered a slight increase both in horsepower and torque to 62.9 horses and 78.5 ft-lbs.
 |
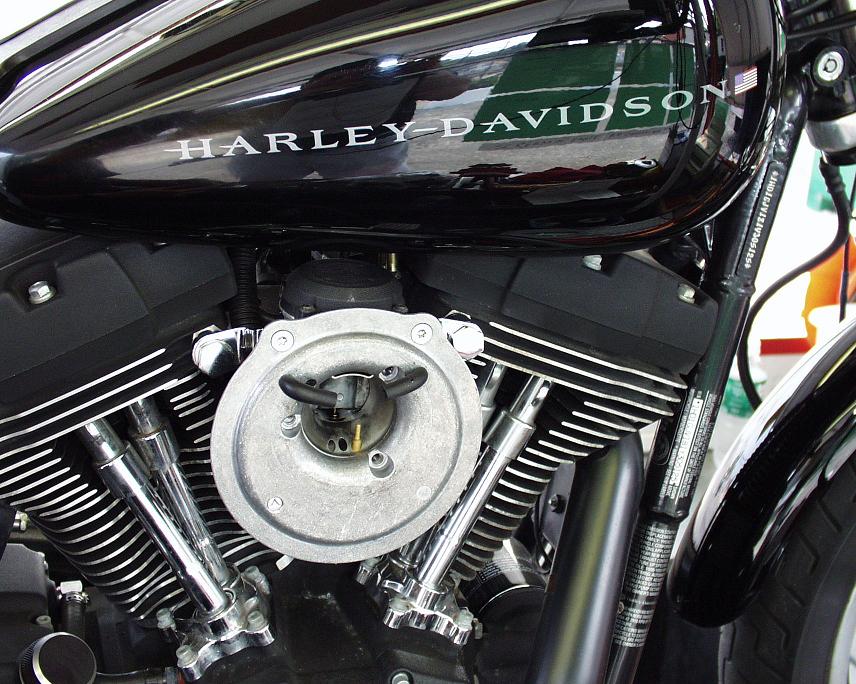
 For the third run, we removed the air cleaner entirely. Dr. Dyno held his hand by the carb’s intake during the test, so most of the blow-by fuel would get pulled back into the carb and burned. |
Data Run 3
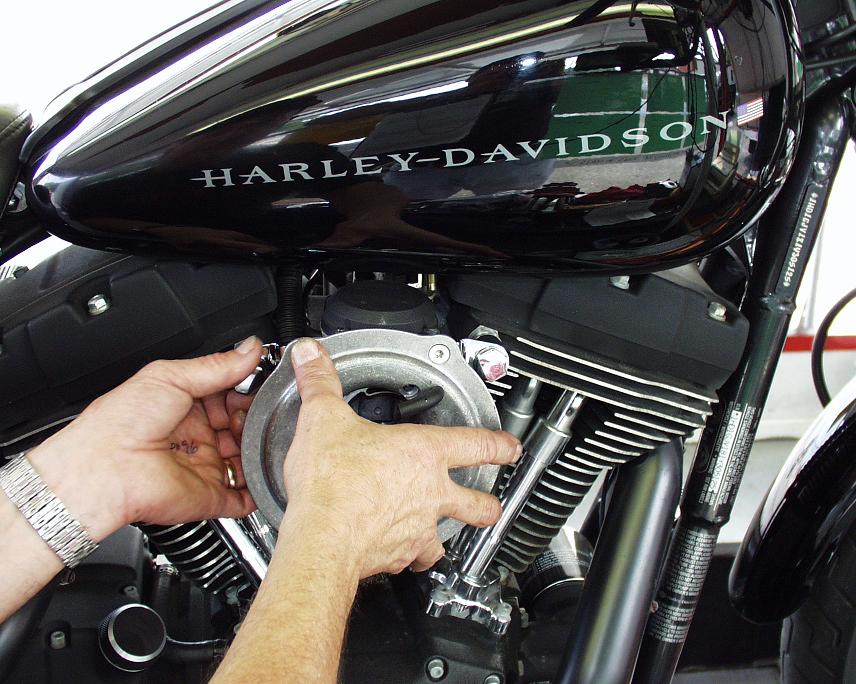
For this run, we removed the air cleaner entirely. While this is not a good idea for the real world, we wanted to measure the effect it would have on performance. The limited time during which we would be allowing unfiltered air into the engine shouldn’t harm it.
Dr. Dyno pulled the entire air box and held his hand by the carb intake for the dyno run. He explained that his hand was there to keep most of the blow-by gas near enough to the carb to pull it back in and get burned. Our best run improved the peak horsepower to 66.7, with a marginal increase of torque to 79.4.
 |
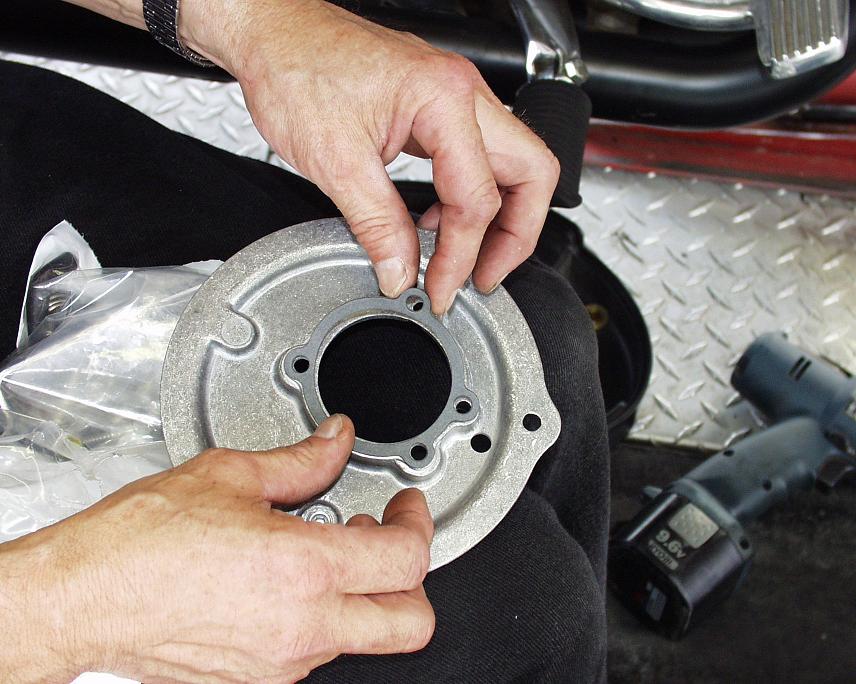 We needed the SE air cleaner installed for the next test. Start the installation by positioning the gasket on the backing plate as shown. |
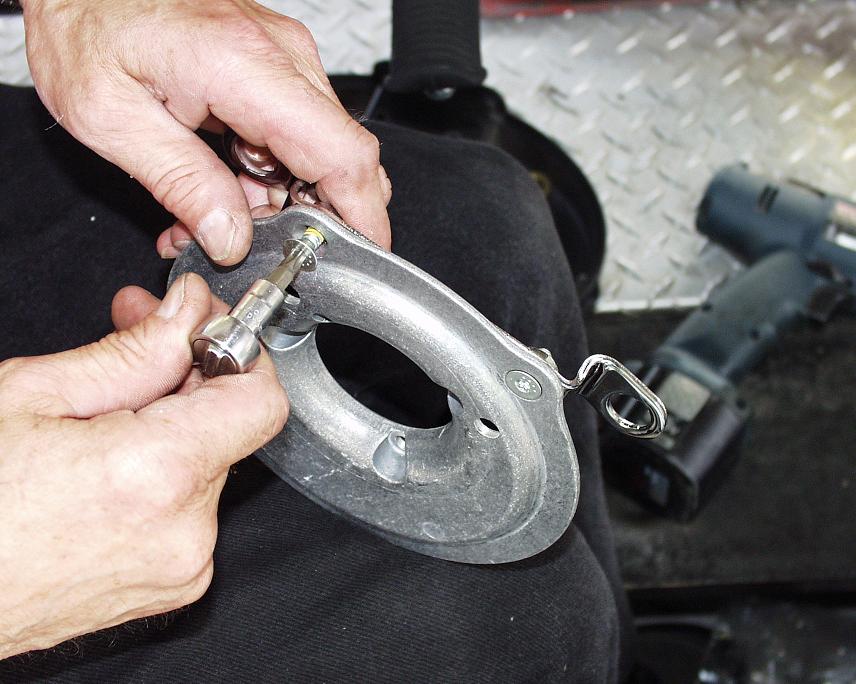 Using the supplied screws, attach the mounting bracket to the backplate with a TORX drive. |
 Next, insert one of the kit’s rubber hoses through the hole that’s made for it in the backplate. |
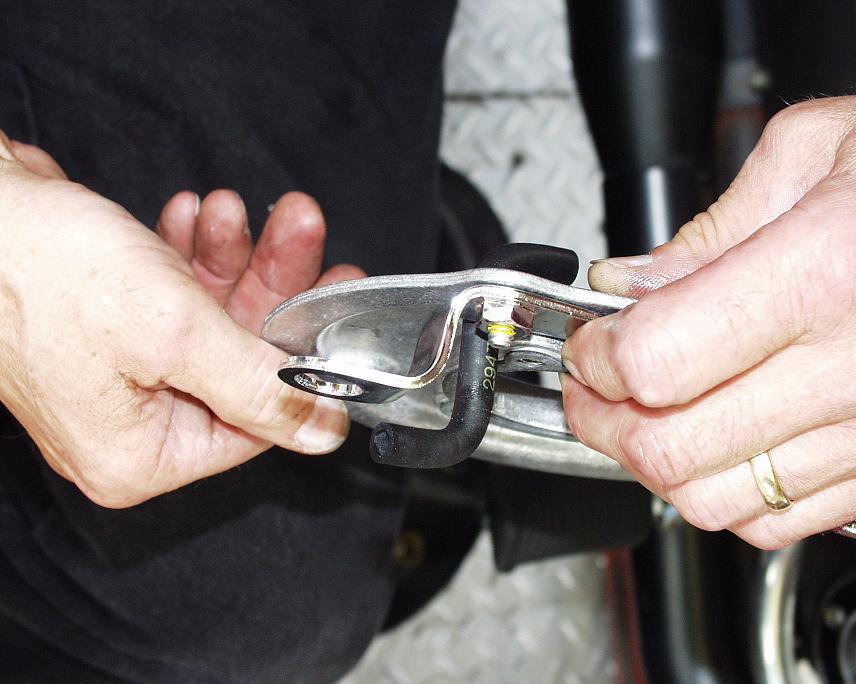
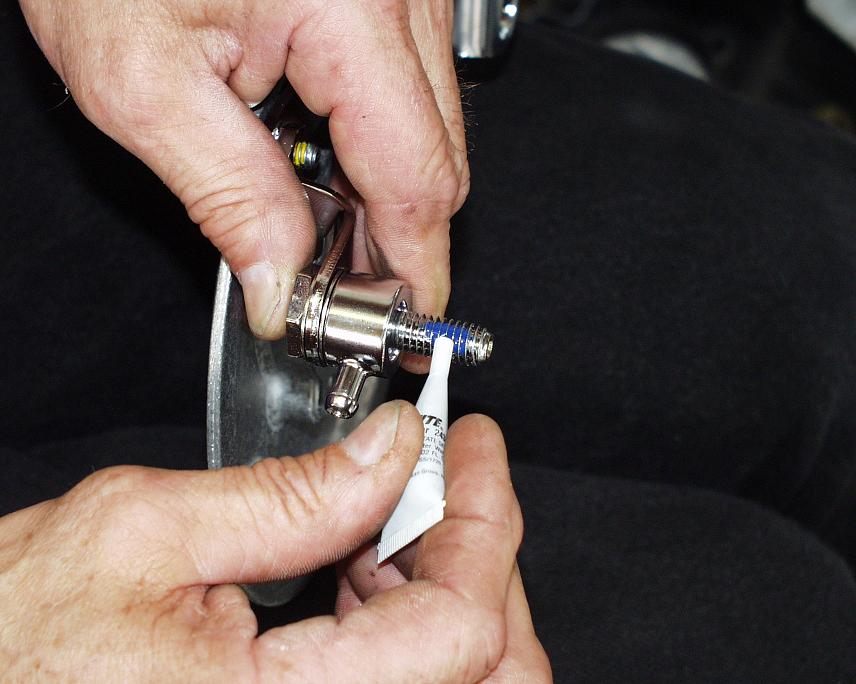 Now slip a large ID washer over the banjo bolt. Then slip the bolt through the bracket and install another large ID washer and a breather bushing over the banjo bolt. Apply a little blue Loctite. |
 Slip the hose over the fitting on the breather bushing. Then position the small ID washer onto the banjo bolt. |
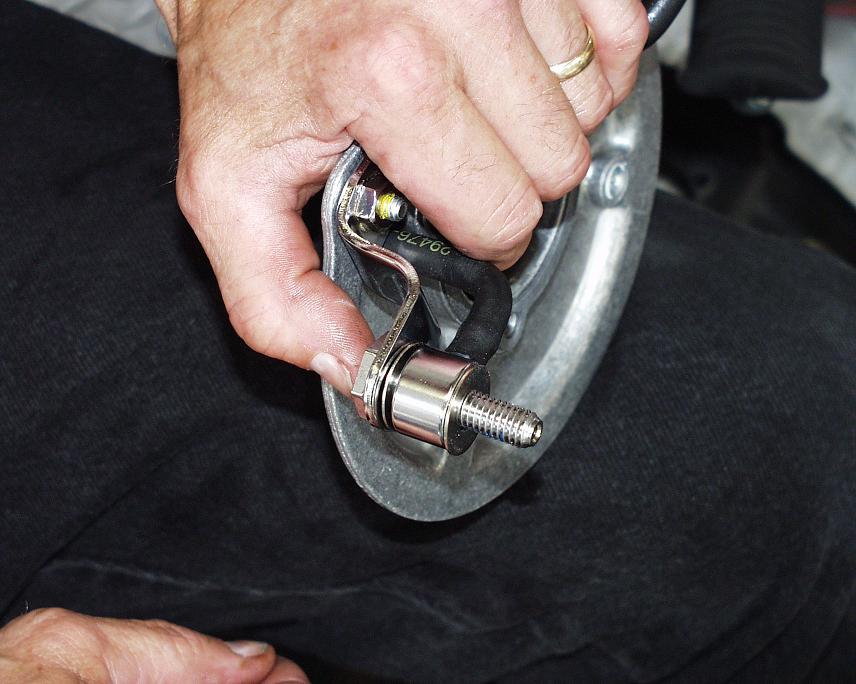
 Now do the same for the other side of the backplate. |
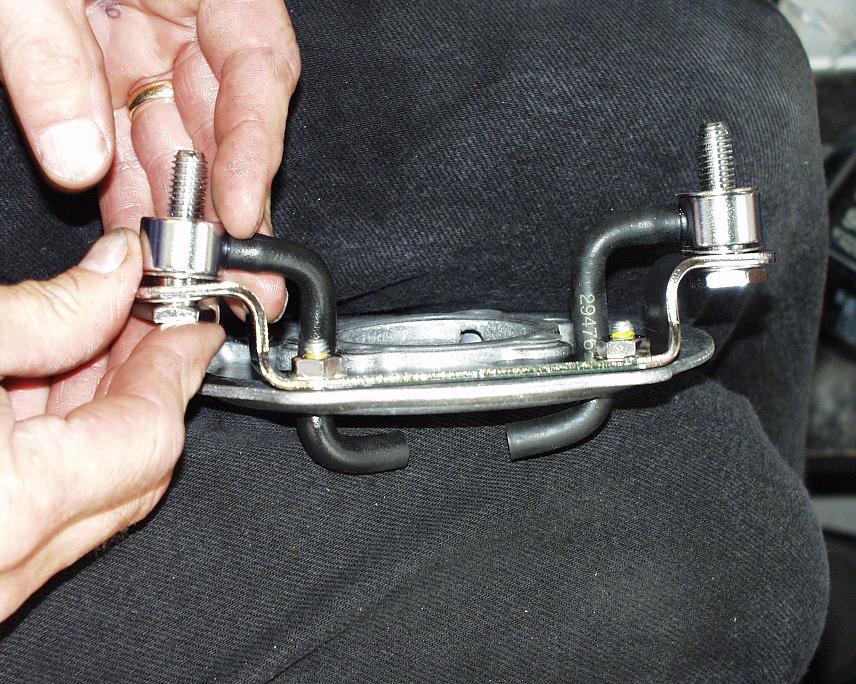
 The backplate assembly is now ready to install on the engine. Make sure the gasket is in place for the next step. |
 Carefully thread the banjo bolts into the engine’s heads, but do not tighten them at this time. |
 Here’s how the assembly should look. Position the hoses as shown. |
 You can now install the three supplied studs, with a little blue Loctite on the threads. |
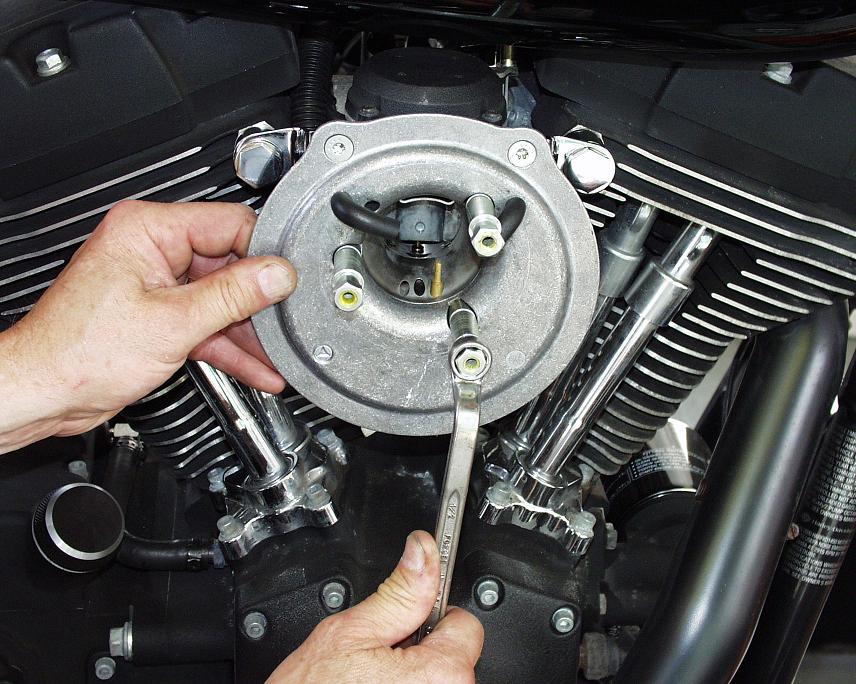 Tighten them with a 1/2” wrench and then an inch/pound torque wrench to 55-60 in-lbs. You can now tighten the banjo bolts to 10-12 ft-lbs. |
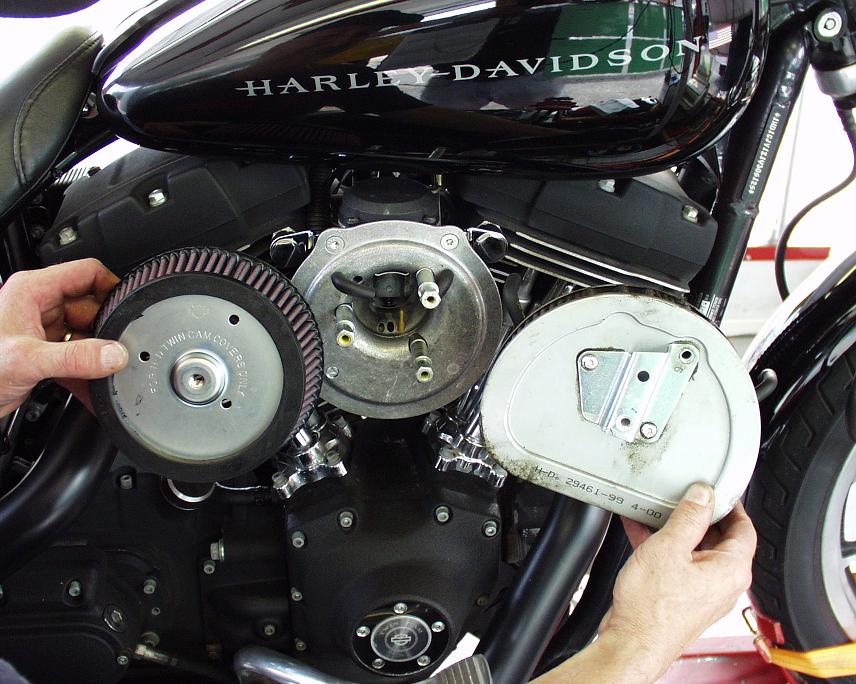 The new SE air cleaner element is on the left. Compare it to the stock element on the right. |
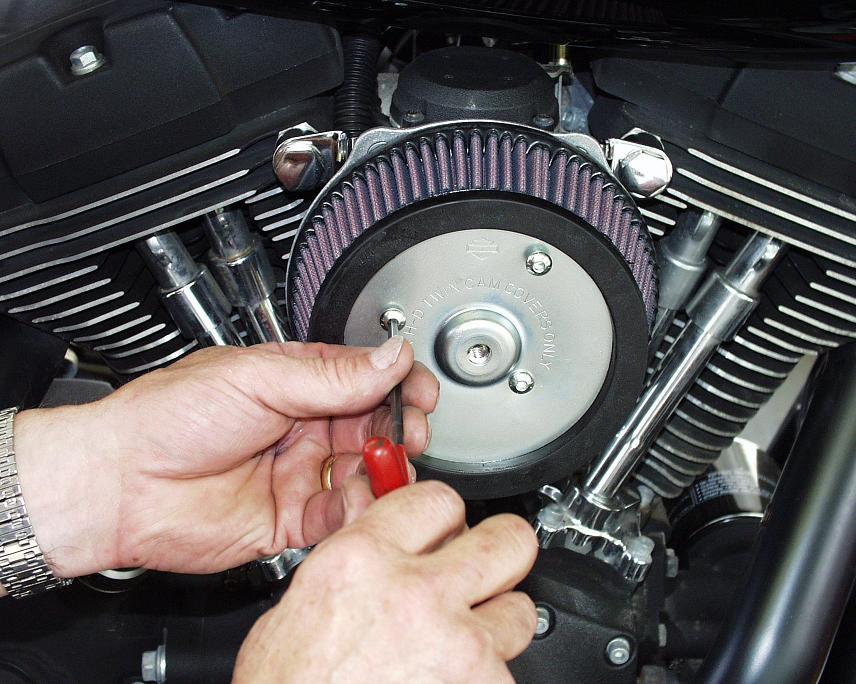 Install the new SE element using the three supplied screws and an Allen wrench. |
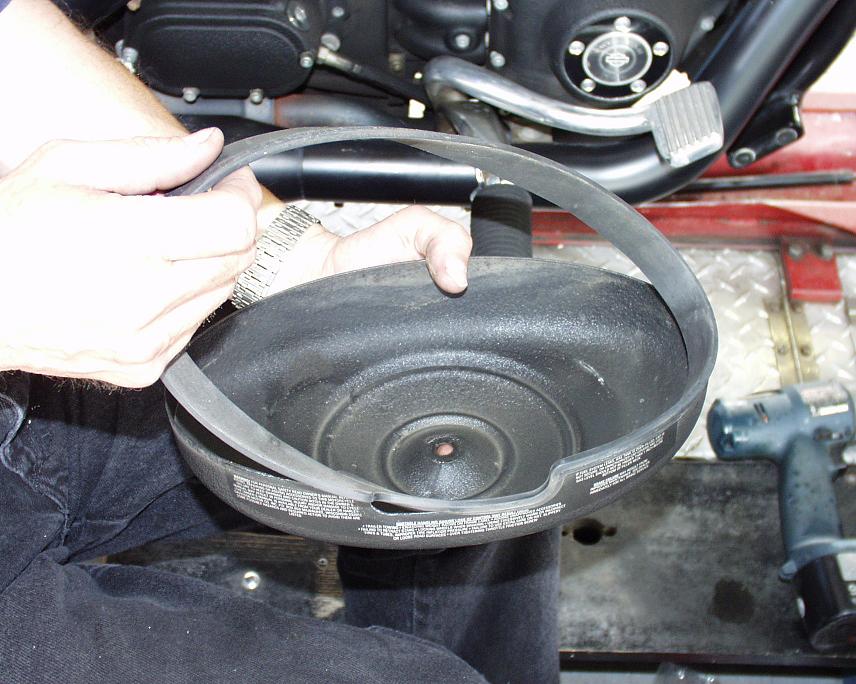 Before you reinstall the air cleaner’s outer cover, remove the rubber gasket from its outer edge. After all, there’s nothing for it to seal against anymore. |
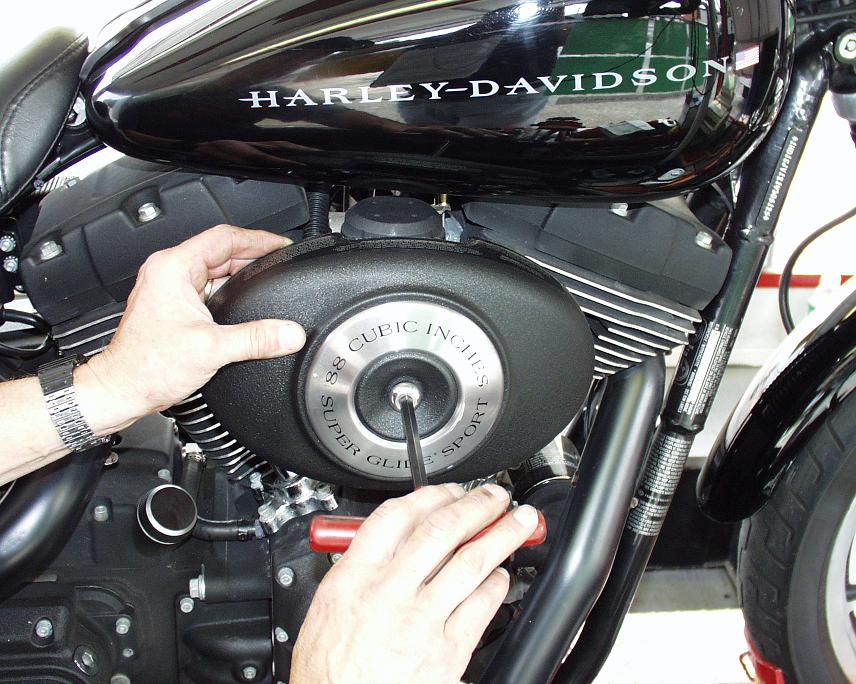 You can now install the stock outer cover with an Allen wrench. We then did another dyno run to see what this mod would yield. |
Data Run 4
This time we installed an SE air cleaner kit. In fact, all further runs are with the SE air cleaner in place. Installation took less than a half hour and is one of the best modifications a Harley owner can do to improve performance on a budget, as the numbers attest. Peak numbers climbed to 66.8 horses and 80.8 ft-lbs. When I asked Dr. Dyno why a filtered system performs better than an unfiltered one, he explained that much of it has to do with the air cleaner containing all the blow-by fuel long enough to get pulled back into the carburetor, which generates slightly higher power.
 |
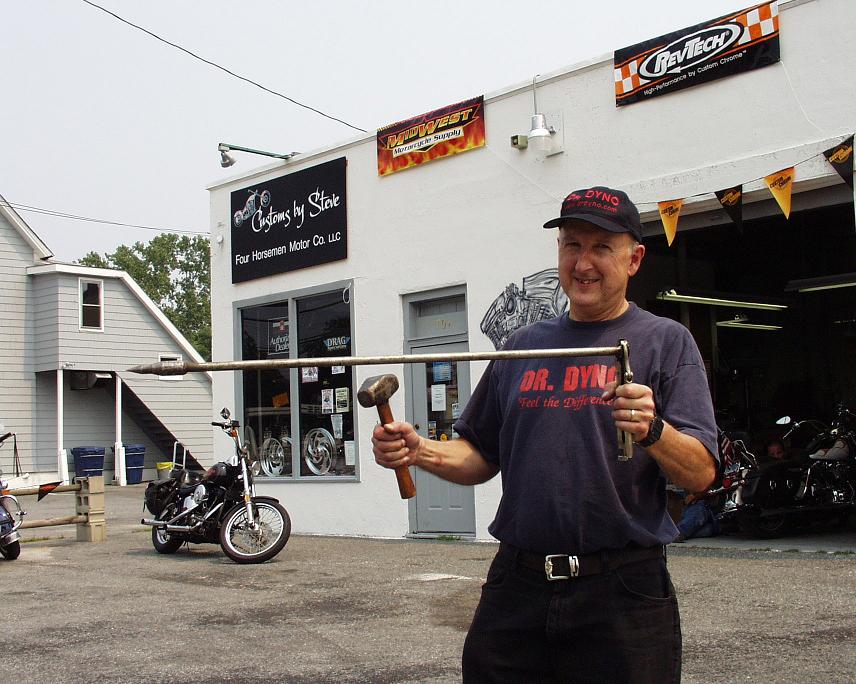 Here’s Dr. Dyno with his muffler opening tools. |
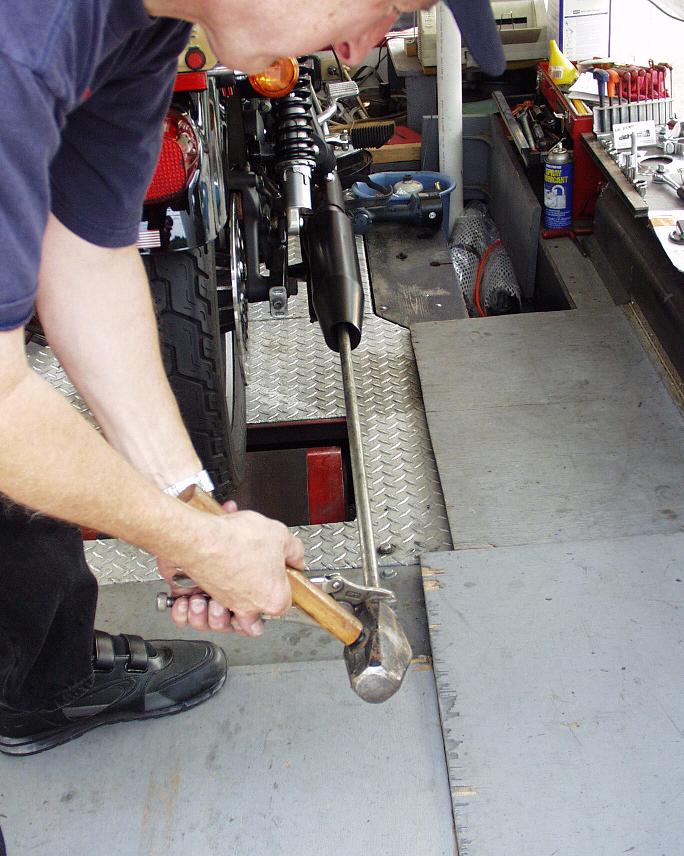 He inserts the tool into the end of each muffler and gives it a couple of hits with a hammer to open up the chamber a bit. We then did another dyno run to see what we got from our “mod.” |
Data Run 5
For this run, we punched out the stock mufflers. While we don’t recommend this process owing to how loud the exhaust gets, it is a little bit quieter than straight or drag pipes and it does make a lot more power than stock pipes. The best run achieved 70.2 peak horses and 84.3 ft-lbs. of peak torque.
 |
Data Run 6
We then removed the mufflers completely and ran just the stock header pipes. If you even consider doing this, you had better bring earplugs and enough aspirin for everyone! The best numbers registered did lift the peak horses to 71.4, but we lost peak torque, dropping to 83.9 ft-lbs.
 |
 We then installed the blacked-out SE mufflers. Dr. Dyno was surprised by the power increase they produced when we did another run. |
Data Run 7
We now installed a set of SE slip-on mufflers. Dr. Dyno had one look inside and admitted that he didn’t expect much from them. I was curious. Installation took perhaps 15 minutes. While these slip-ons were almost as quiet as the stock mufflers, they did produce a nice throaty sound and were good enough to surprise Dr. Dyno with a solid performance. Peak horses came in at 68.5 and torque reached 82.6 ft-lbs., compared with the stock muffler run numbers of 66.8 horses and 80.8 ft-lbs.
|
 Next on was the new SE ignition module. It goes under this electrical component box, which is located under a cover on the left side of the bike. |
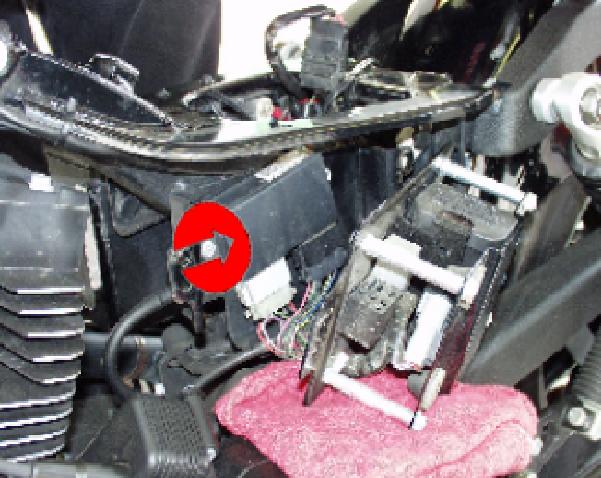 Once you have moved the electrical component box, the module (arrow) is easy to access. |
 Swapping the modules is a simple matter of unbolting the old one from the frame and unplugging it. |
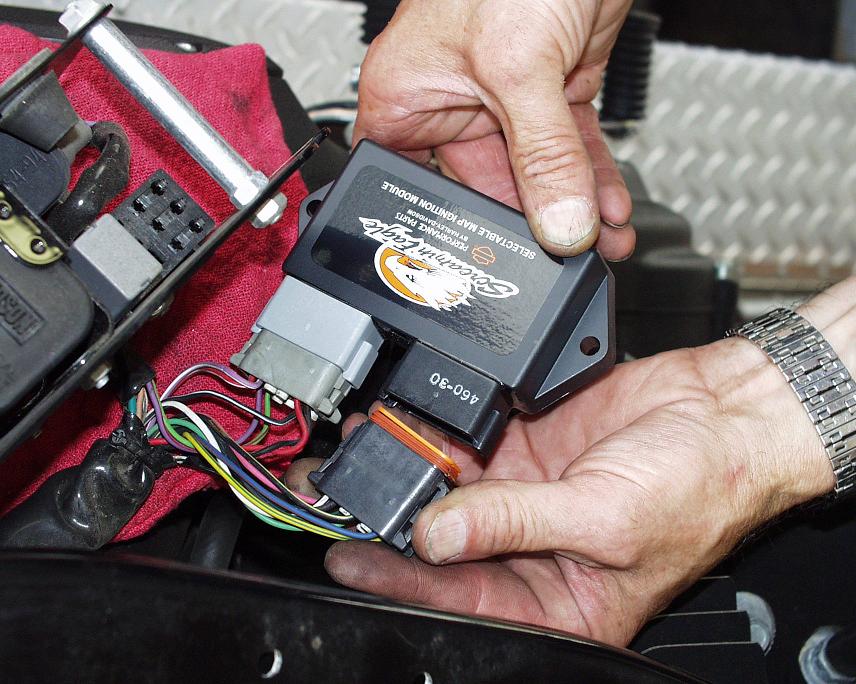 Then just plug in the new one and bolt it into the same spot as the stock unit, using the same hardware. |
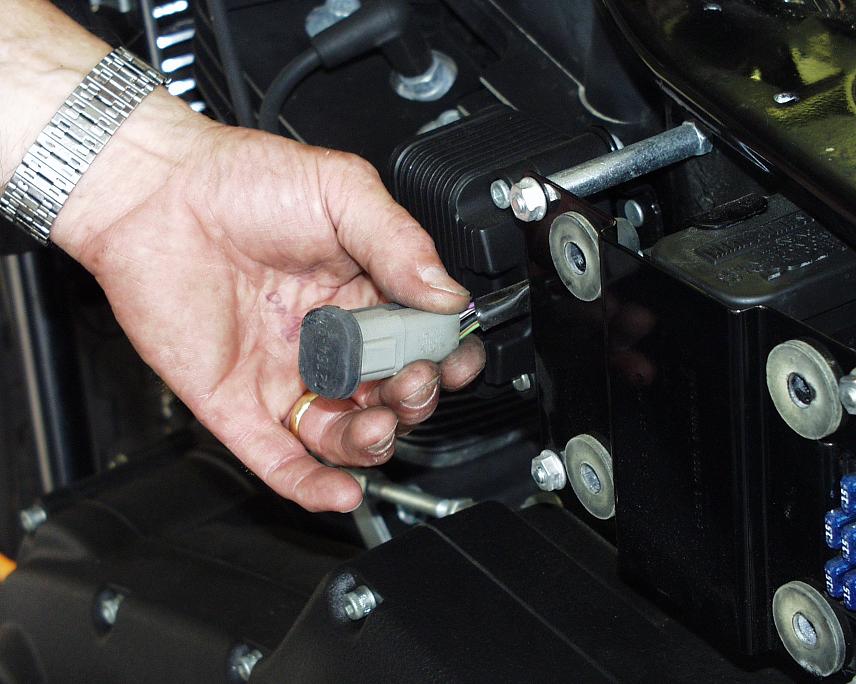 This plug is the access port so you can set the ignition curves the way you want, if you don’t want to use the ones already programmed into the module. |
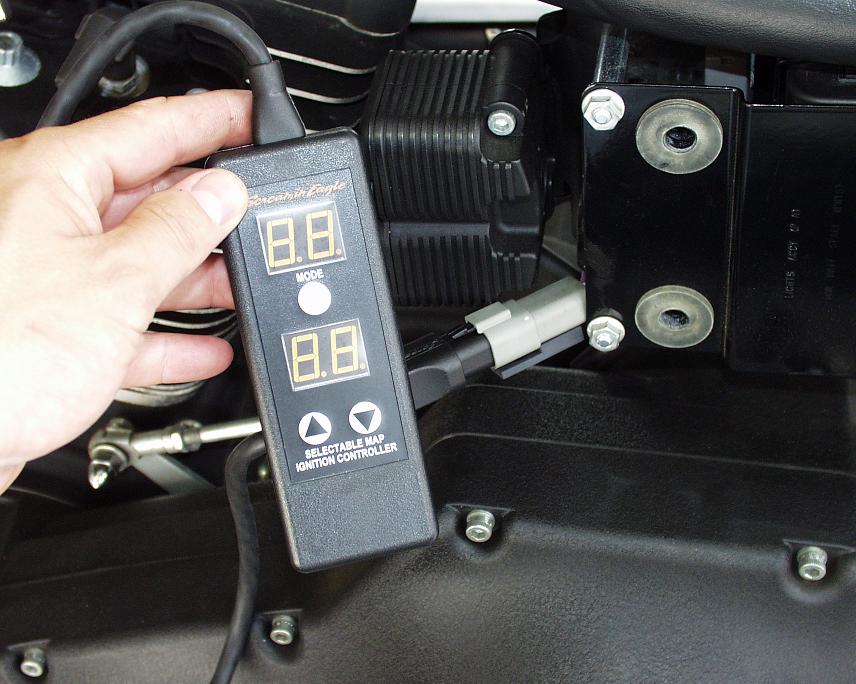 Once Dr. Dyno has plugged his tester into the harness, he can program the unit to get the best results. This was all followed by another series of runs to see if we gained or lost power. |
Data Run 8
For our last run, we installed an SE Selectable Ignition Module. Once again, Dr. Dyno predicted this ignition wouldn’t have much effect on our performance with the set-up we had. Initial installation took less than a half hour. The results, as predicted, were very disappointing at 68.1 peak horses and 81.2 ft-lbs. When I asked when this system does make a difference, Dr. Dyno told me it was a big plus if we increased compression or installed more aggressive cams
.
Peak Data Results By Component
| Stock | 60.5 | 78.1 |
| No air cleaner cover | 62.9 | 78.5 |
| No air cleaner | 66.7 | 79.4 |
| SE air cleaner | 66.8 | 80.8 |
| Opened muffler | 70.2 | 84.3 |
| No muffler | 71.4 | 83.9 |
| SE muffler | 68.5 | 82.6 |
| SE ignition | 68.1 | 81.2 |
Dr. Dyno: Part Gypsy, Part Wizard
If you’re like many of our readers, you want to squeeze every available horsepower from your engine, and you’d rather do it as easily and inexpensively as possible. I last hooked up with Dr. Dyno in March during Daytona Bike Week, when he did his thing on my old outlaw Panhead. In about an hour, he managed to find and make available almost 15 percent more horsepower. I was impressed, and the bike ran a lot better afterwards.
Unfortunately, there’s a lot of misinformation floating around about how to build horsepower, especially when it comes to Harleys. And those truly in the know will tell you that, more often than not, most modified bikes put less horsepower to the ground than a properly tuned stocker. Much of this comes down to the fact that most owners can bolt on a trick new exhaust or air cleaner, but too many of them (usually the ones that don’t read and learn from American Iron Magazine) don’t then bother to rejet the carb to match the new components. And the end result is that, instead of picking up a few horsepower, they actually lose power.
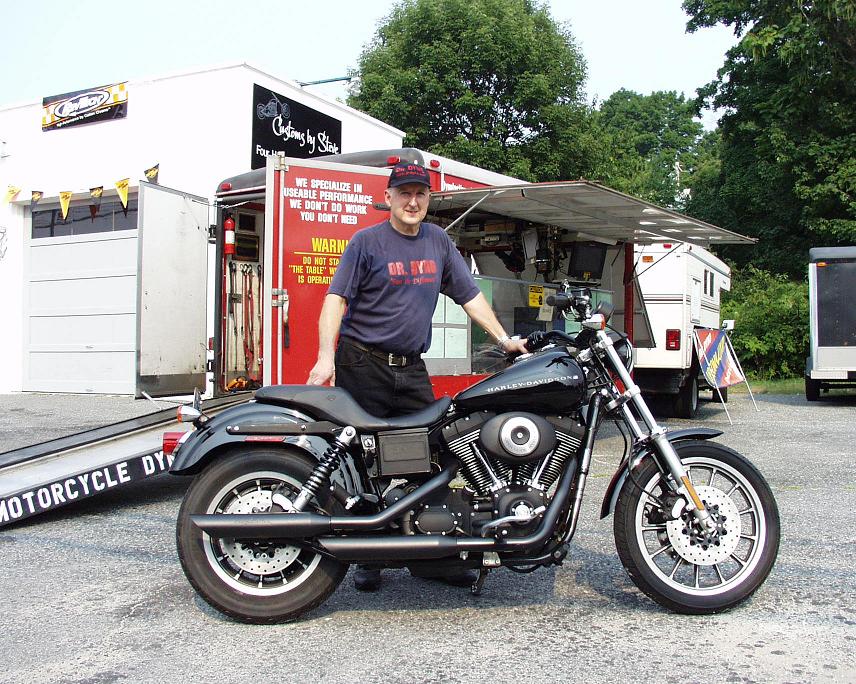 Here’s the doctor with his newest patient, which is much healthier than it was when it came in. |
Here is where tuners like Dr. Dyno come in. These people spend much of their waking hours trying to figure out how to help us make more power with our bikes. Dr. Dyno then takes it a step further and takes it to the streets. He invested in a trailer rig and portable dyno, computer, tools, and many of the components he has found work best for most bikes. He then travels to various motorcycle events where, for a reasonable fee, he will run and diagnose your bike. He’ll then make the necessary adjustments. At the owner’s option he’ll also sell, install, and fine tune additional high performance components that make sense on your particular bike.
The beauty of what Dr. Dyno does is that he has thousands of hours of hands-on experience, and he has the equipment to test everything on his dyno on the spot. You can check out his website (www.drdyno.com) for listings of where and when he will be traveling with his rig.